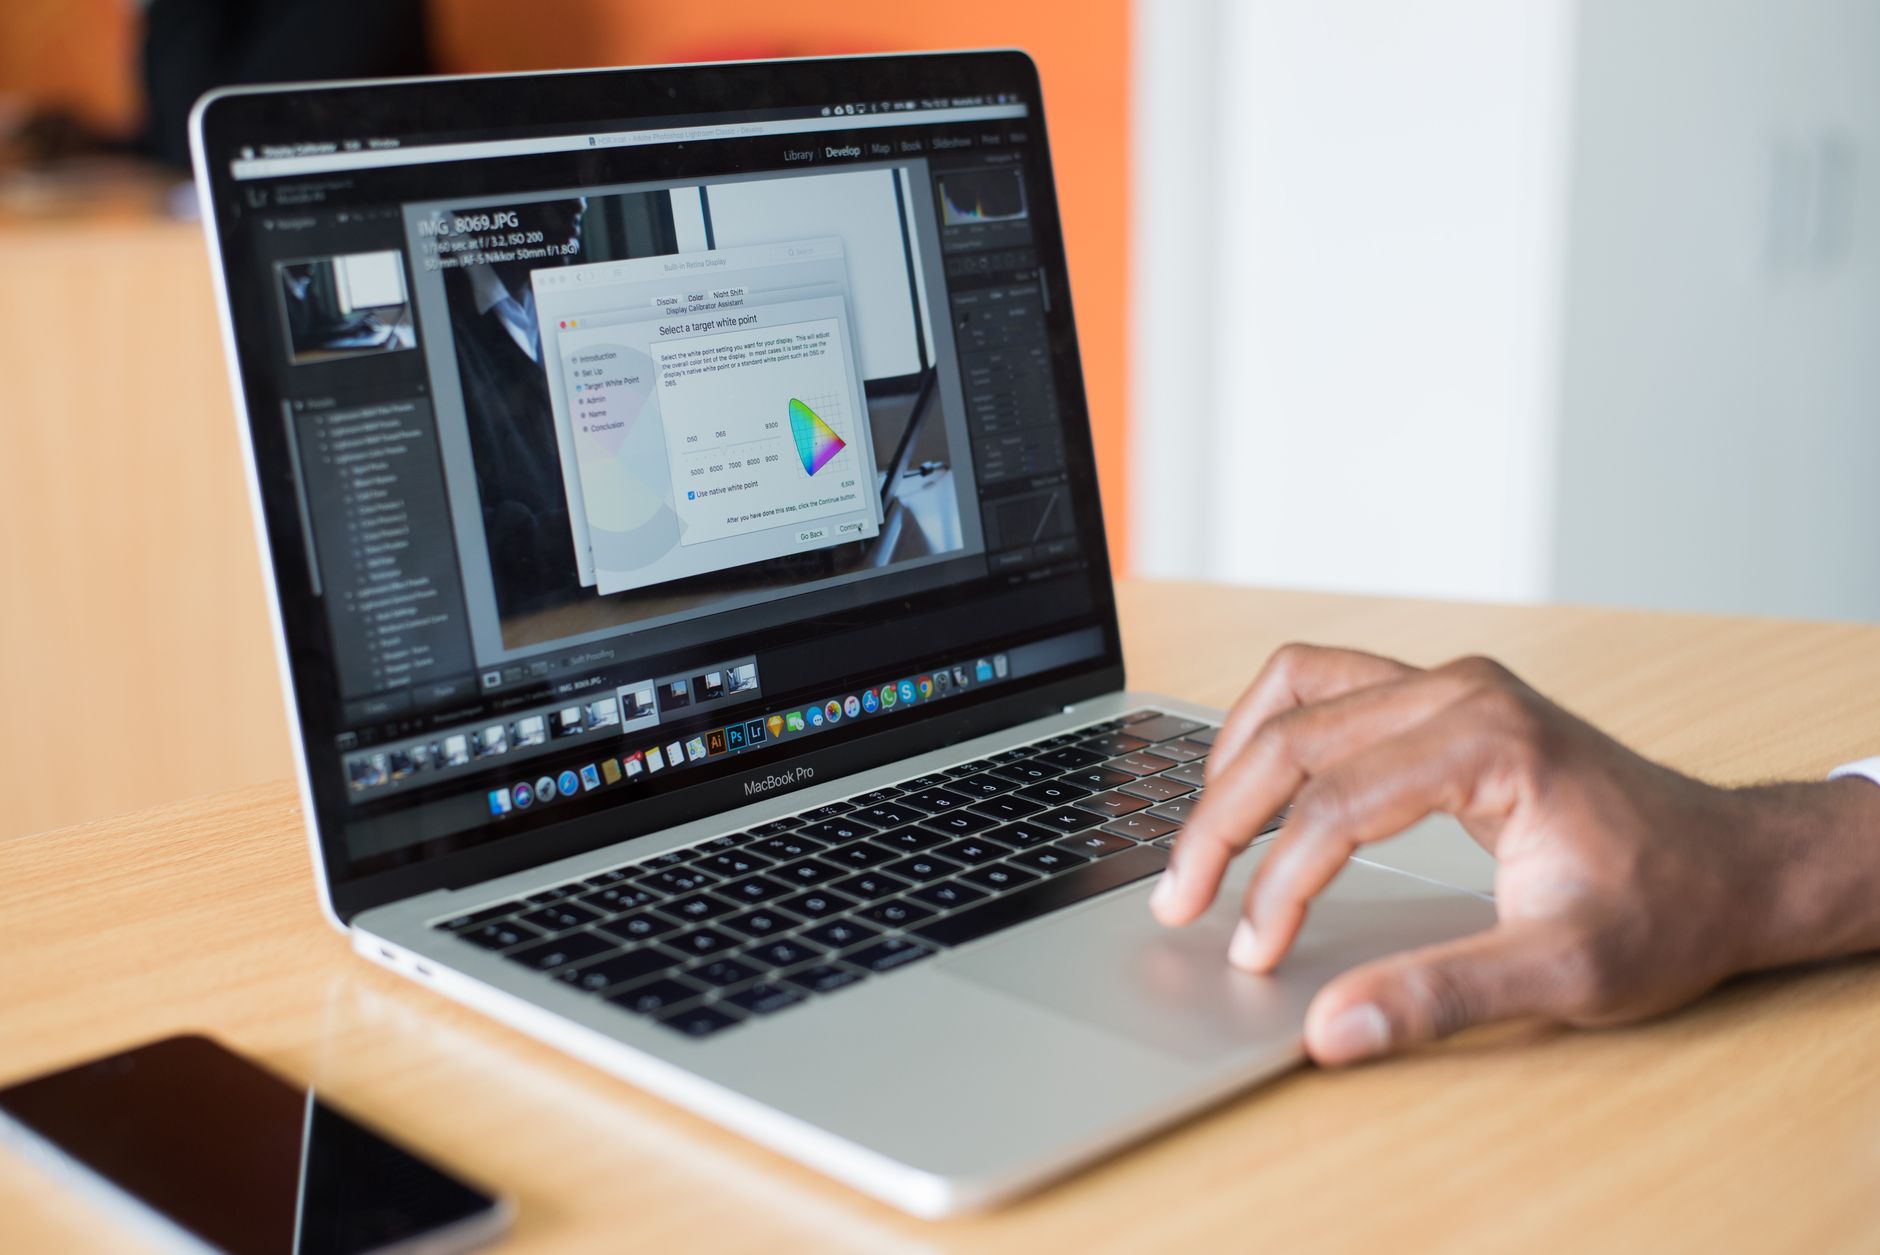
Knowing how to update your Mac to the latest macOS version is one of the most useful things you can do for the health and security of your machine. macOS updates patch known vulnerabilities, fix bugs, and sometimes deliver a noticeable speed improvement. Skipping them leaves your Mac exposed and, over time, makes the eventual jump much harder.
Before you start: two things to do first
Back up your Mac before any major macOS upgrade. Use Time Machine with an external drive, or make sure your files are synced to iCloud. A backup takes 15–30 minutes and protects everything if the update stalls or your Mac encounters a problem mid-install. If you haven't set up a backup routine yet, the complete step-by-step guide to backing up your computer walks through every option.
Also check that your Mac is compatible with the latest release. Apple publishes a supported hardware list for every macOS version. Generally, Macs from 2018 onward support the most recent macOS releases, but that cut-off shifts each year. If your Mac is older, it may be limited to an earlier version.
How to update macOS: step by step
The process is straightforward on any supported Mac running macOS Ventura or later.
- Click the Apple menu in the top-left corner of your screen.
- Select System Settings (or System Preferences on older macOS versions).
- Click General, then Software Update.
- Your Mac checks for available updates. If a new macOS version is available, it appears here with an Upgrade Now button.
- Click Upgrade Now and enter your administrator password when prompted.
- The installer downloads and your Mac restarts. Keep it plugged into power for the full installation, which typically takes 20–45 minutes depending on your model and internet speed.
Your Mac restarts at least once during installation. Don't force a shutdown while the progress bar is moving. Leave it alone until the login screen appears.
Installing minor updates vs. major upgrades
Apple releases two types of updates. Minor updates (for example, macOS 15.3 to 15.4) are small, targeted patches that install quickly and rarely cause issues. Major upgrades (for example, moving from macOS Sequoia to the next named release) replace a larger part of the operating system and take longer.
For minor updates, the same Software Update path applies. You can also enable Automatic Updates in Software Update settings so security patches install overnight without you needing to remember. Turn on "Install macOS updates" and "Install Security Responses and system files" for the best coverage.
What to do if macOS update won't download or install
A few problems come up regularly. Here's what fixes each one.
- Download stalls or won't start: Check your internet connection, then try again. If it still won't move, go to the Apple Downloads page and download the full installer directly.
- Not enough storage: macOS upgrades need 12–20 GB of free space. If your drive is full, delete large files or move them to an external drive first. The article on computers running out of storage covers the fastest ways to clear space on a Mac.
- Update says it's installed but nothing changed: Restart your Mac manually and check Software Update again. Sometimes the installer completes but the system doesn't recognise it until after a fresh restart.
- Stuck on a progress bar during install: Wait at least 2 hours before taking any action. Some installations genuinely take that long. If the bar hasn't moved at all after 2 hours, hold the power button to force a shutdown, then restart. macOS is designed to resume an interrupted installation safely.
Keeping apps compatible after an upgrade
Major macOS upgrades occasionally break older apps. After installing, open your most-used apps and check that they launch correctly. For apps from the Mac App Store, go to the App Store, click your account icon, and check for pending app updates. Third-party apps (browsers, creative tools, productivity software) should be updated from within the app or the developer's website.
If a specific app stops working entirely after a macOS upgrade, check the developer's site for a compatibility note. Many developers release a patch within days of a major macOS release. If the problem is wider than a single app and your Mac feels sluggish after the upgrade, the fixes in the guide to a MacBook running slowly apply just as well to a freshly updated machine.
Can't update because your Mac is too old?
Apple stops issuing macOS updates for older hardware after a point. If Software Update tells you your Mac is up to date but you're still on macOS Monterey or earlier, your hardware isn't supported by newer releases. That's not a failure on your part. It does mean your Mac is no longer receiving security patches, which is worth factoring into any decision about whether to keep using it.
At that stage, the choice is between accepting the risk (not recommended for a machine used for banking or business), buying a newer Mac, or exploring whether a third-party patcher like OpenCore Legacy Patcher can extend support for your model. The patcher is a community project, not an Apple tool, so it comes with caveats. Research your specific Mac model before attempting it.
Making macOS updates a habit
The simplest approach is to enable automatic updates and let Apple handle minor patches in the background. Reserve a manual check for major upgrades once a year, give yourself 90 minutes, do a backup first, and let the installer run on a stable power connection. That's the whole process.
If something goes wrong during or after an update and you can't resolve it yourself, remote support is a practical option. A technician can diagnose macOS issues over the internet without you needing to bring the machine anywhere.